
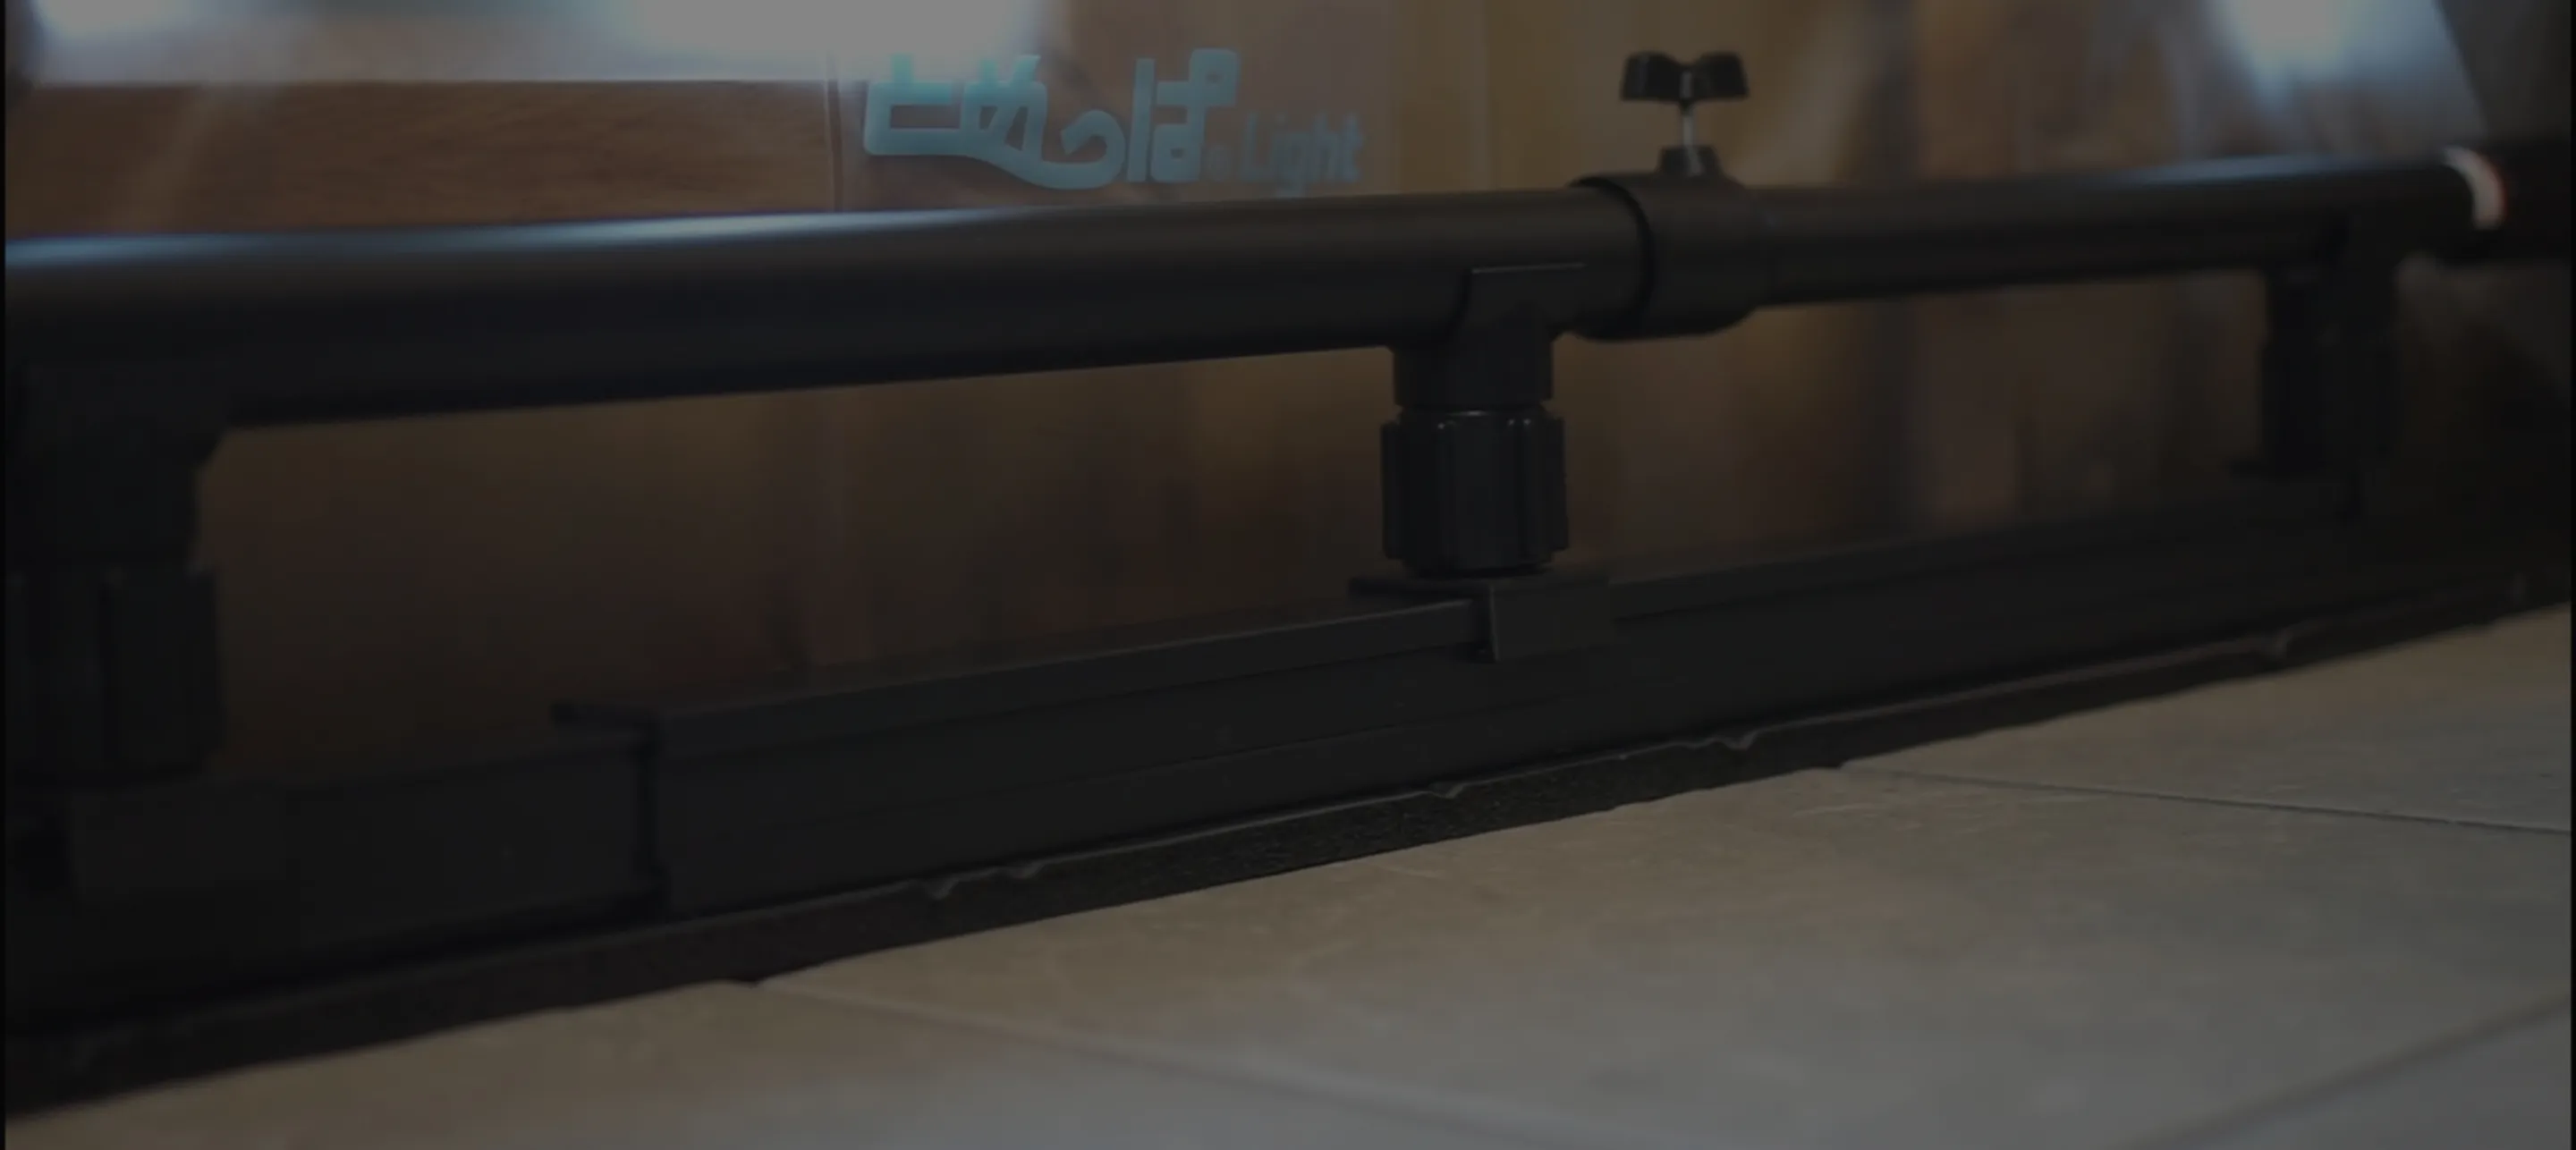
Flood Barrier Sheet
Floods can strike suddenly without warning.
But now there is an easy flood prevention solution - ‘just set it up!’

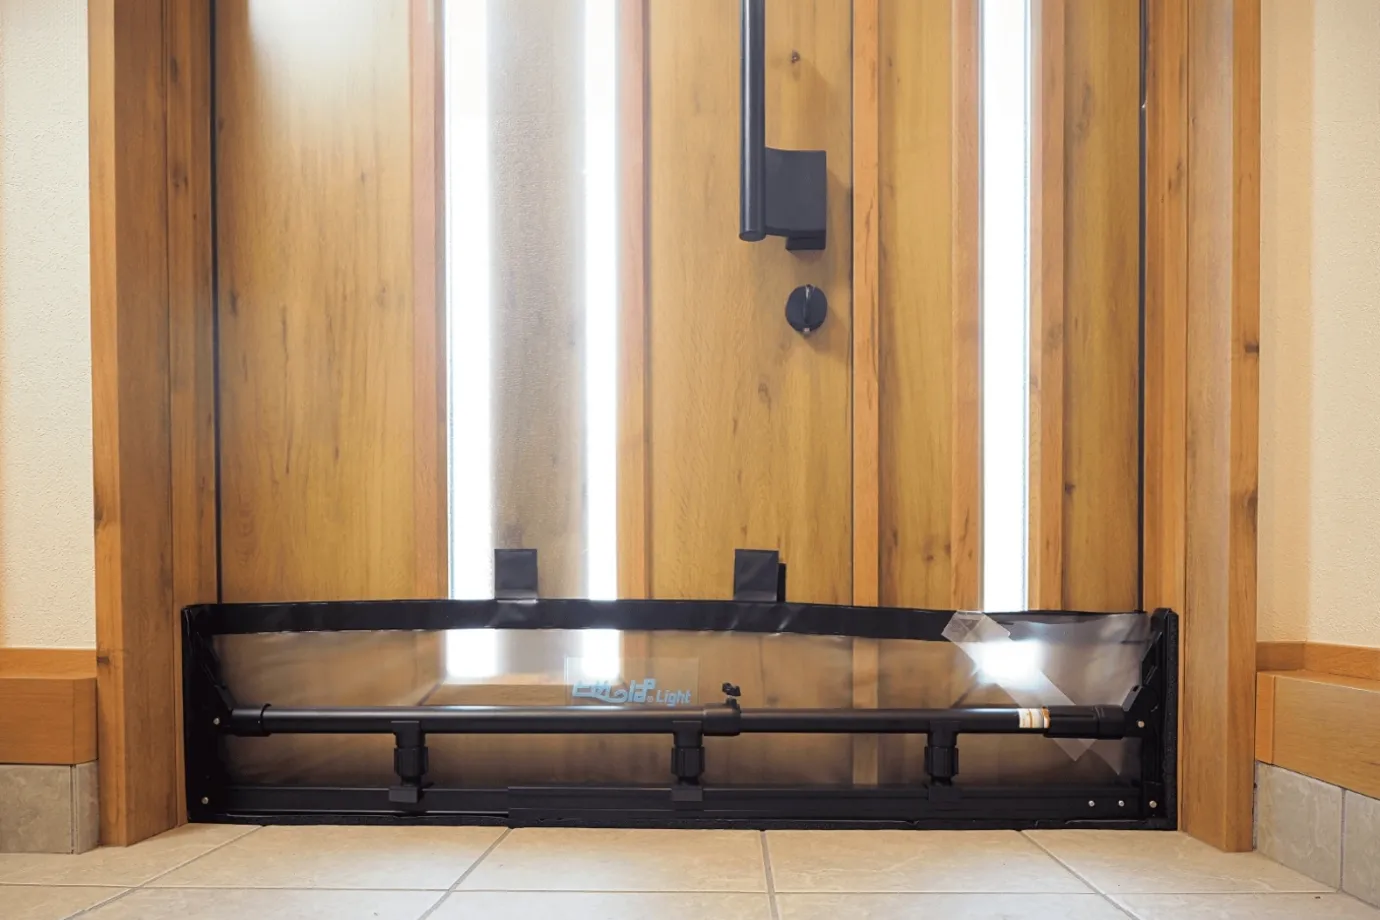
A flood barrier sheet placed at doorways to prevent indoor flooding during heavy rain. Easy for one person to install in about 5 minutes. Lightweight and compact, making it a practical flood prevention measure for households.
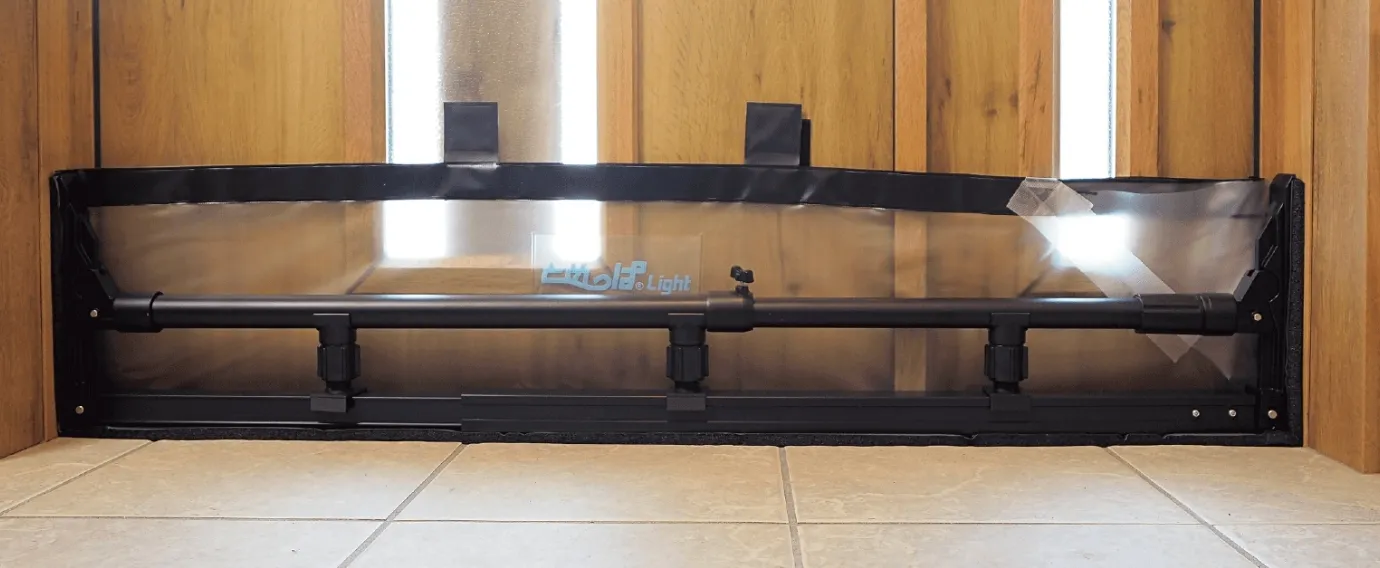
- Applicable Opening Dimensions:
- 85 cm to 125 cm
- Height
- 25 cm
- Applicable Water Level Height
- up to 15 cm
※This product is designed to help prevent flooding, but it is not guaranteed to stop all water leakage.
Installation Method
With its lightweight and simple design, anyone can easily install it.
-
1. Confirm Installation Location
Please measure the entrance (installation location) of your home.
-
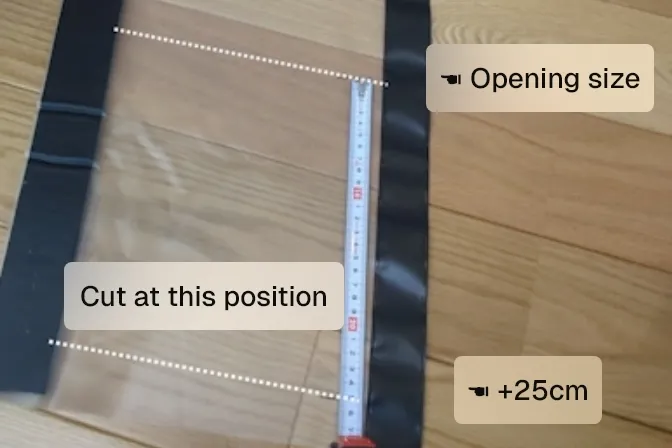
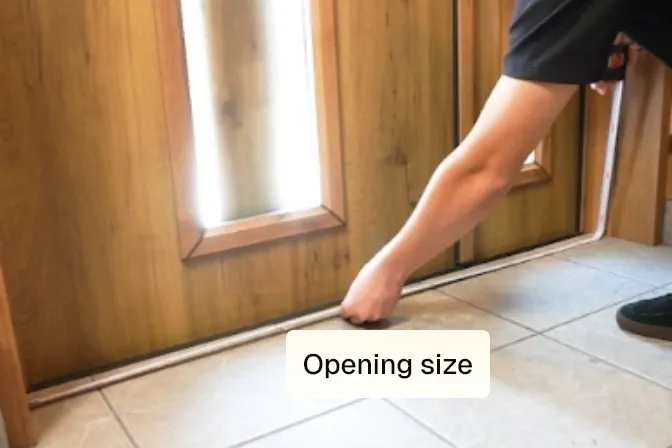
2. Cut to Opening Size + 25cm
Measure the opening size of the entrance, then cut the water stop sheet with scissors to a size that adds 25cm to the measurement.
-
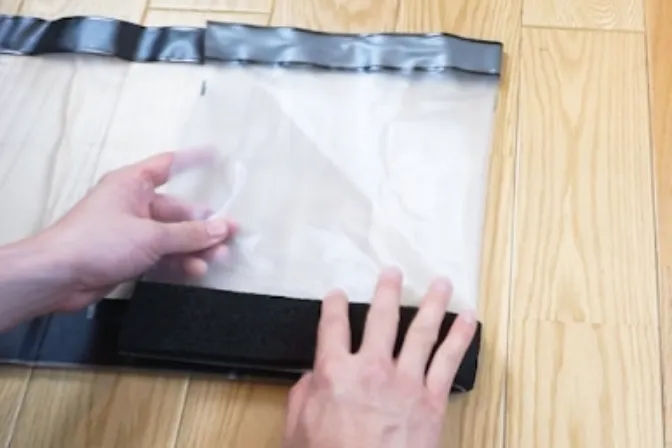
3. Fold Inward to Match Opening Size
Fold the cut water stop sheet inward from the right end to match the opening size.
-
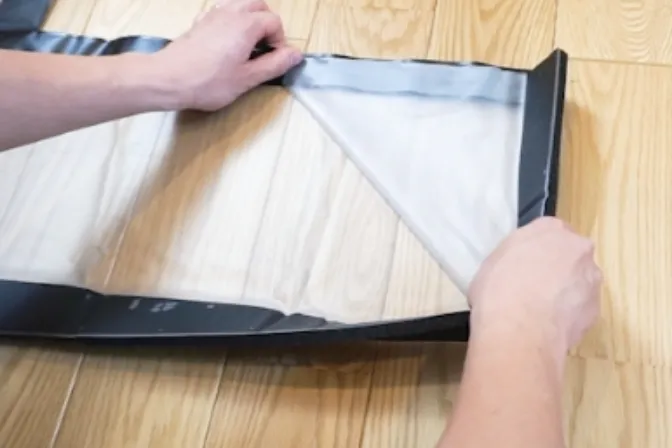
4. Fold Diagonally to Create a Triangle
Fold the valley-folded water-blocking sheet along the diagonal to form a triangular shape.
-
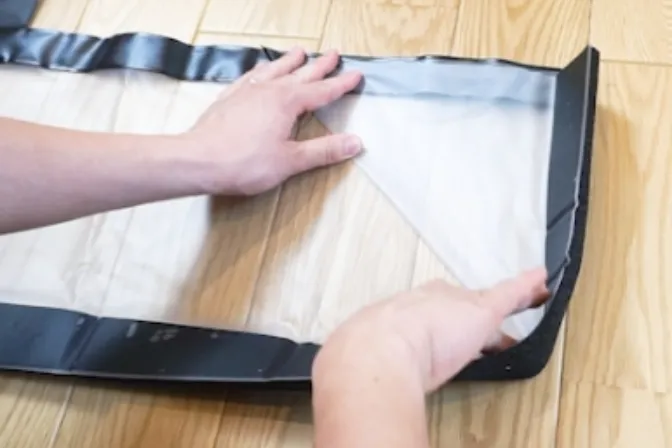
5. Installation at the Opening
Fit the folded sheet securely to the entrance opening.
-
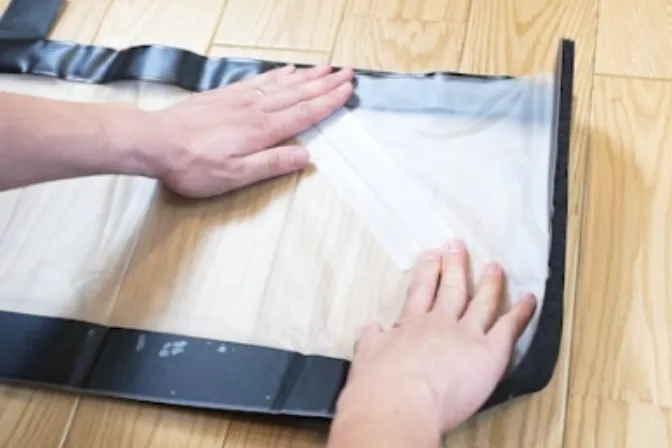
6. Attach with Curing Tape
Use commercially available curing tape to firmly secure the triangular folded section so that it does not open, and fix the sheet in place. Please make sure that the water-blocking sheet has no tears or damage.
-
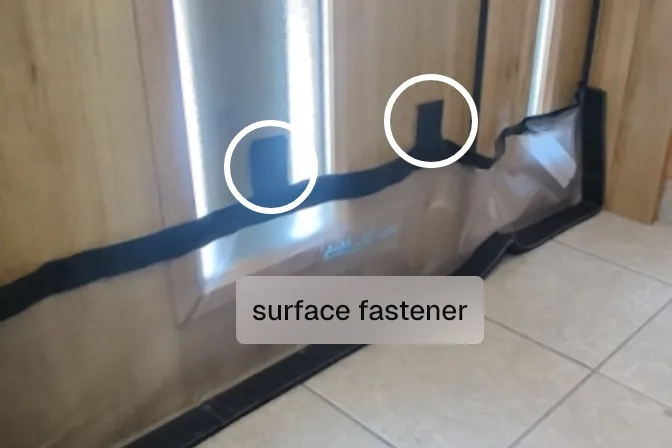
7. Install the Prepared Sheet on the Inside of the Entrance
Install the prepared water-blocking sheet on the inside of the entrance. Peel off the three hook-and-loop fasteners and attach them to the entrance door.
-
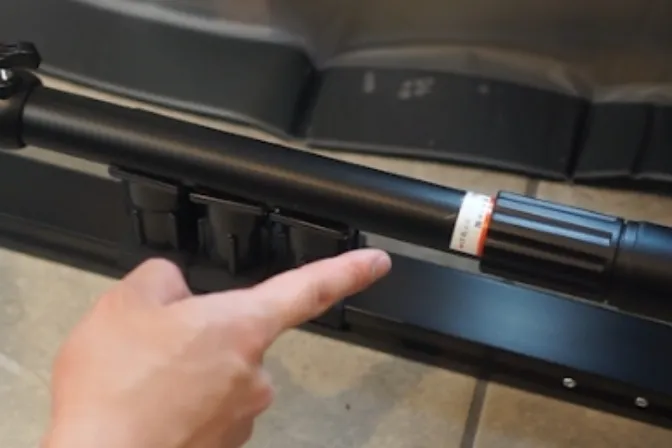
8. Preparing the Main Unit
1. Loosen the length-adjustment screw so that the adjustment pipe can be pulled out smoothly.
2. Turn the grip and confirm that the grip moves. After checking, return the grip to the start-line position.
Tip: Make sure to place the main unit so that it sits on top of the water-blocking rubber. -
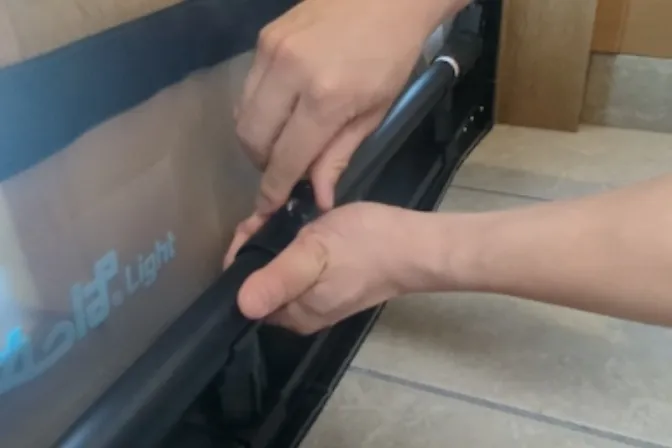
9. Attaching the Adjustment Pipe
1. Pull out the adjustment pipe to match the full width of the opening where it will be installed.
2. Tighten the length-adjustment screw firmly all the way to the base.
3. A hole will be created in the adjustment pipe, fixing its length.
Tip: Move the jacks to both sides and the center. -
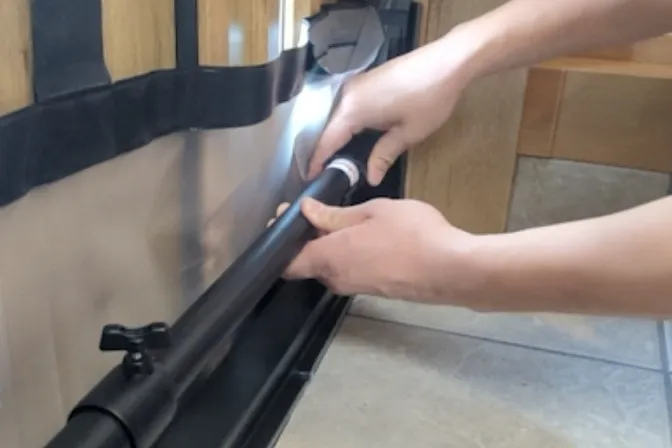
10. Crimping and securing the grip
1. Turn the grip firmly to crimp it securely and fix it in place.
2. Lightly shake it to make sure it is securely attached. -
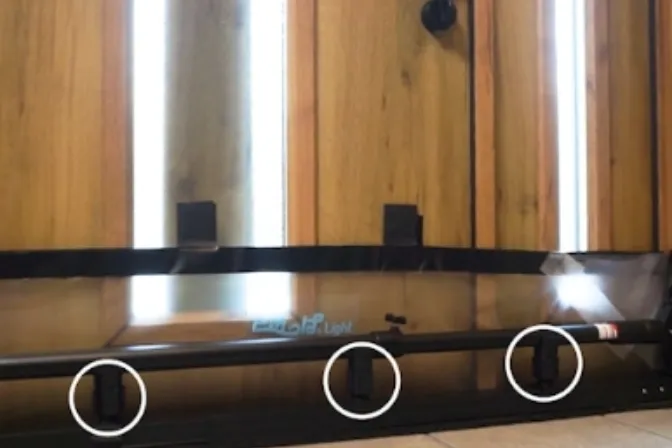
11. Floor Pressurization
Turn the jacks (three locations) to the right about 3-4 times to pressurize the floor.
Please tighten and secure them in the order: both sides → Finally, tighten and secure in order starting with the central jack. -
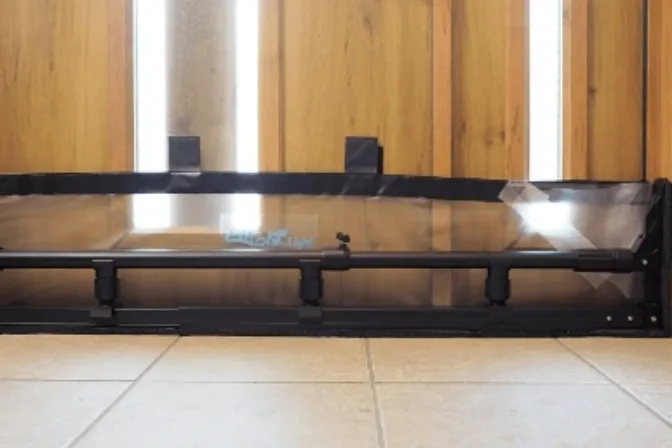
12. Completion
Installation is now complete.
When removing the unit, please remove it in the reverse order of installation.
